One of the great things about Karen Tyler's albums are her cultural manuals. They are so detailed and simple enough to put together at home. So we started with the Physical Science album and did the basic flashlight works. Then it was time for our unit on matter.

The first tray is where you introduce the three states of matter. Solid holds a rock, liquid some colored water and gas, an empty jar. Here is closer look at the bottles:

Next we started with liquids. First is the concrete, with a tray containing liquids in jars/bottles of various shapes and sizes.

Next up is the abstract representation of different kinds of liquids. I just got some images of google and printed those for D.

An extension to this activity was water pouring into different shapes and sizes of containers so the child understands volume, shape and mass properties of liquids. D thoroughly enjoyed pouring water!
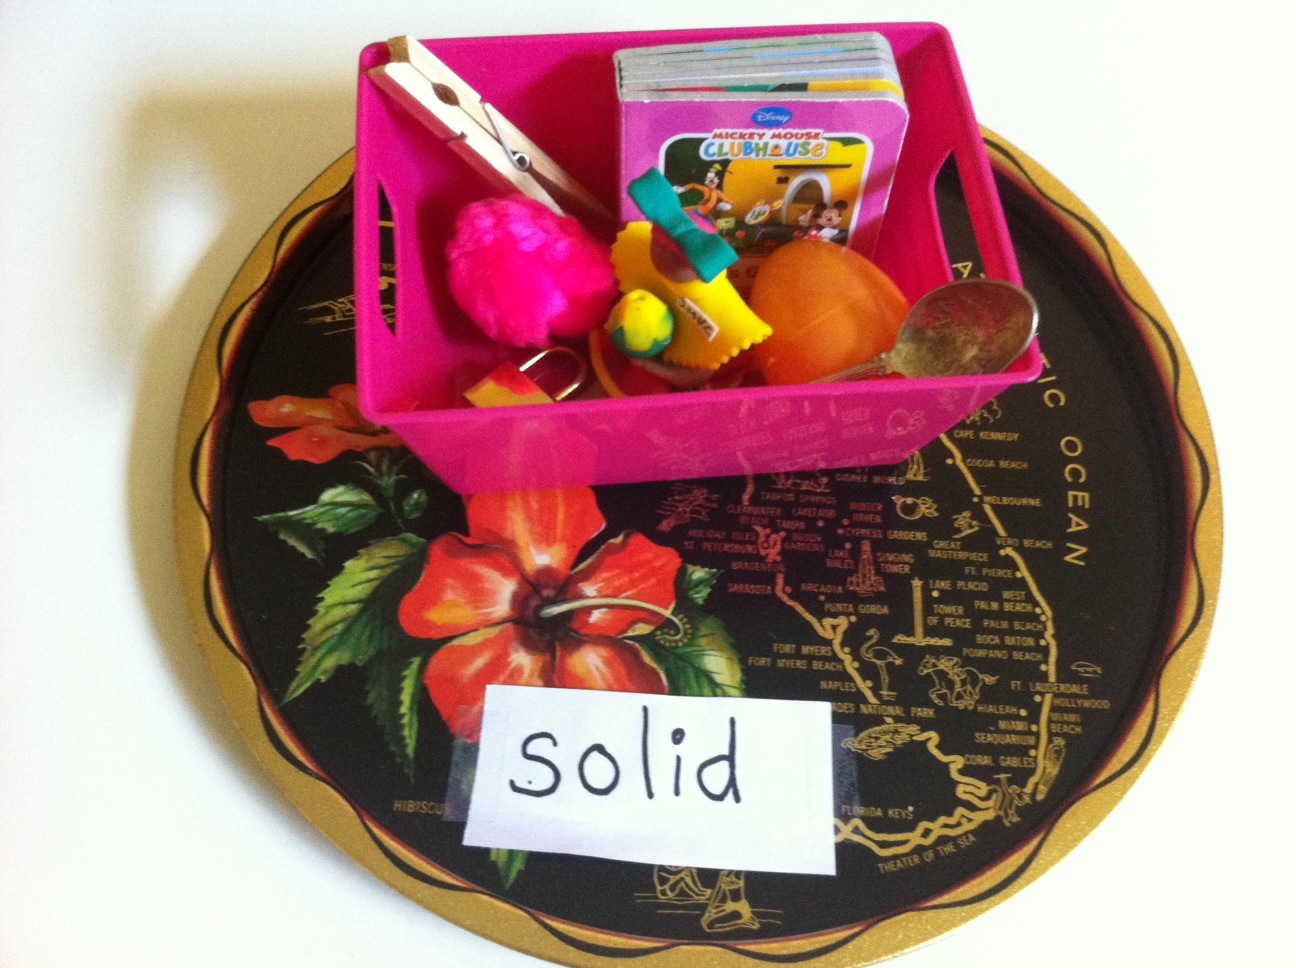
Next were the concrete and abstract for solids.


Now comes the fun experiment of trying to freeze water in a balloon and then watch it melt back into water again! For some reason our balloon would not expand when we filled it with water, so we did the experiment by using filling a ziploc bag with water, freezing and melting it. This showed D how matter from one form can change to another.
Next is the concrete and abstract for Gas. I included a balloon in our gas tray so D could blow into it and watch the balloon expand!


Two experiments follow this, one is the famous cloud in a jar and the other is the blowing up of a balloon using gas produced by mixing vinegar and baking soda.
All in all it was a pleasure to put together these trays and have D work these! She has learnt all these concepts well and enjoyed the little experiments that we did! I cant wait to dig through the rest of her album and have fun with D on those!


The first tray is where you introduce the three states of matter. Solid holds a rock, liquid some colored water and gas, an empty jar. Here is closer look at the bottles:

Next we started with liquids. First is the concrete, with a tray containing liquids in jars/bottles of various shapes and sizes.

Next up is the abstract representation of different kinds of liquids. I just got some images of google and printed those for D.

An extension to this activity was water pouring into different shapes and sizes of containers so the child understands volume, shape and mass properties of liquids. D thoroughly enjoyed pouring water!
Next were the concrete and abstract for solids.

Now comes the fun experiment of trying to freeze water in a balloon and then watch it melt back into water again! For some reason our balloon would not expand when we filled it with water, so we did the experiment by using filling a ziploc bag with water, freezing and melting it. This showed D how matter from one form can change to another.
Next is the concrete and abstract for Gas. I included a balloon in our gas tray so D could blow into it and watch the balloon expand!


Two experiments follow this, one is the famous cloud in a jar and the other is the blowing up of a balloon using gas produced by mixing vinegar and baking soda.
All in all it was a pleasure to put together these trays and have D work these! She has learnt all these concepts well and enjoyed the little experiments that we did! I cant wait to dig through the rest of her album and have fun with D on those!
Love the way you presented!! Beautiful work!!
ReplyDeleteThanks Karen! D loved it.
ReplyDeleteGreat presentation! I love this. The experiments in the end were probably a fun way to wrap up the unit. :)
ReplyDeleteLove it!!! Stopping by from Montessori Monday!
ReplyDeleteTake care, Airamty
Hi
ReplyDeleteThanks for sharing what you used. I am trying to put together and just did not know how to start. Seeing what you did (and I plan to copy) helps a lot.
Do you still have your pictures? if possible could you share them with me? just to make life easier....
ReplyDeleteGlad this post helps you! I am sorry to say that I won't be able to share the pictures as I had downloaded from google images to make those, so they are copyrighted!
ReplyDelete